Aloe vera has been used for millennia for its medicinal and therapeutic benefits. It is known throughout history and in many cultures worldwide for topical and internal uses to treat, heal, protect, and rejuvenate the body.
More than 200 active ingredients have been isolated from its inner gel. It is rich in anthraquinones, vitamins, minerals, enzymes, amino acids natural sugars, and fatty acids. Topically it can be used for many different applications: skin care, promoting anti-aging, and also to aid in healing wounds and sunburns.
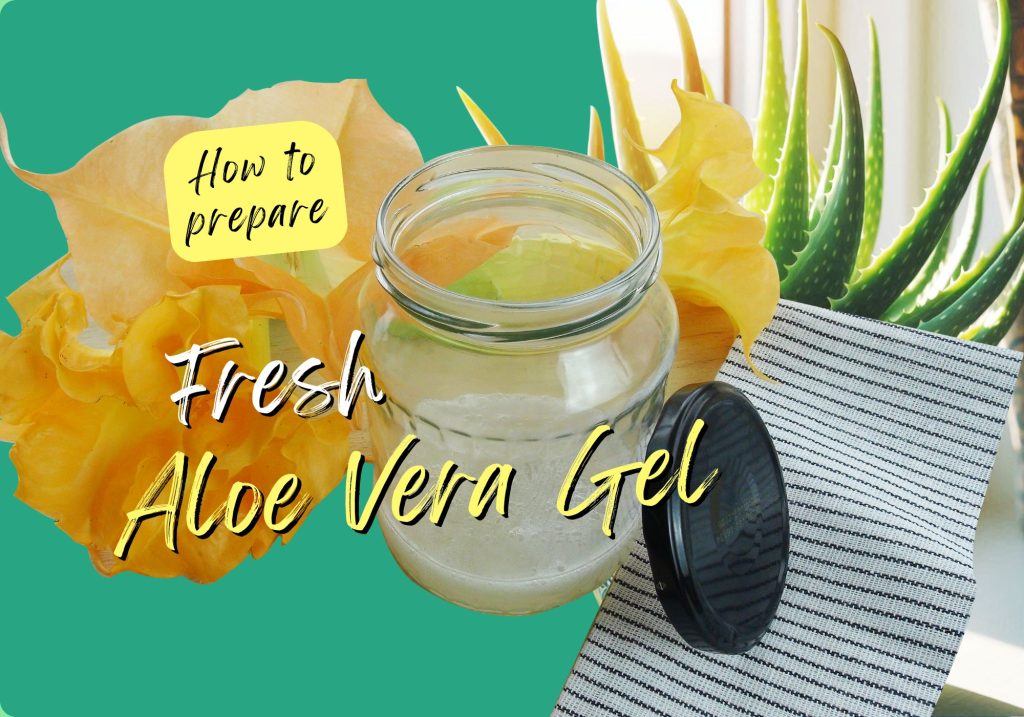
It’s important to remove the latex from the aloe vera leaves before use because of its potential to irritate the skin. I will show you how to create a wonderful fresh, raw gel for topical use.
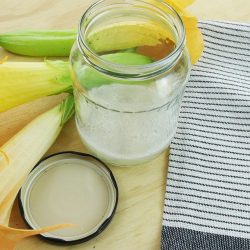
How to Prepare Pure Aloe Vera Gel at Home: No Latex, No Hassle!
Equipment
- 1 Blender
- 1 Nut milk bag
- 1 Knife, spoon, colander, chopping board, bowls, jar
Ingredients
- 3 Aloe vera leaves
Instructions
- If you grow your own aloe vera, harvest the largest leaves first. Make sure your plant is at least 20cm before harvesting leaves. Use a sharp knife and cut the leaf as close to the base of the plant as possible. The amount of leaves you harvest depends on the quantity of Aloe vera gel required. I will be using 3 medium sized leaves.
- As soon as you cut your aloe leaf, the latex will drain from the bottom. The latex (aloin) looks yellow in colour. Let the leaves sit upright for at least 15 minutes (or longer) to allow them to drain completely.
- Wash the leaves thoroughly with water.
- Remove the spines from the side of the leaves with a sharp knife. Now cut the leaves into smaller pieces and place them in a bowl of water. Repeat with all the leaves.
- Let the pieces sit in the water for about 30 minutes to remove even more latex. The water should turn a light tinge of yellow as more of the latex is removed.
- Scoop out the gel with a spoon and place the gel into water. The gel is very slippery and slimy so wearing gloves is beneficial for this step because of the extra grip they provide.
- Now strain the gel pieces in a colander. Give them one last rinse under running water. You will notice the gel wanting to ooze out of the colander.
- Place the gel pieces in a blender on low for approx. 30 seconds. You will see the gel beginning to foam, this is the saponins found naturally in the gel.
- Strain the gel in a nut milk bag. Once again, using gloves is a good idea for this job for better grip.
- Let the gel sit until the foam subsides. Mine took about half and hour to settle. Now pour into a jar and store in the refrigerator. The gel will last up to a week. If you have any leftovers, it’s best to preserve the gel by freezing and using at a later date.
If you want to learn more about aloe vera:
Aloe Vera Propagation and Plant Care Guide: Tips and Plant Info
Hello Aloe! Aloe Vera Benefits, History, Uses and Plant Info
Love Your Skin: Homemade Aloe Vera and Colloidal Silver Gel ❤️

