What better way to use aloe vera for your beauty and skincare regime than with your very own homemade product that is healthy, organic, and contains beneficial enzymes due to its raw state, making it a far superior product all around? Aloe vera is a common ingredient in skin and hair care products, adding suppleness and moisture as well as healing and moisturizing properties. However, these products may contain fillers and other ingredients that aren’t good for your body or skin.
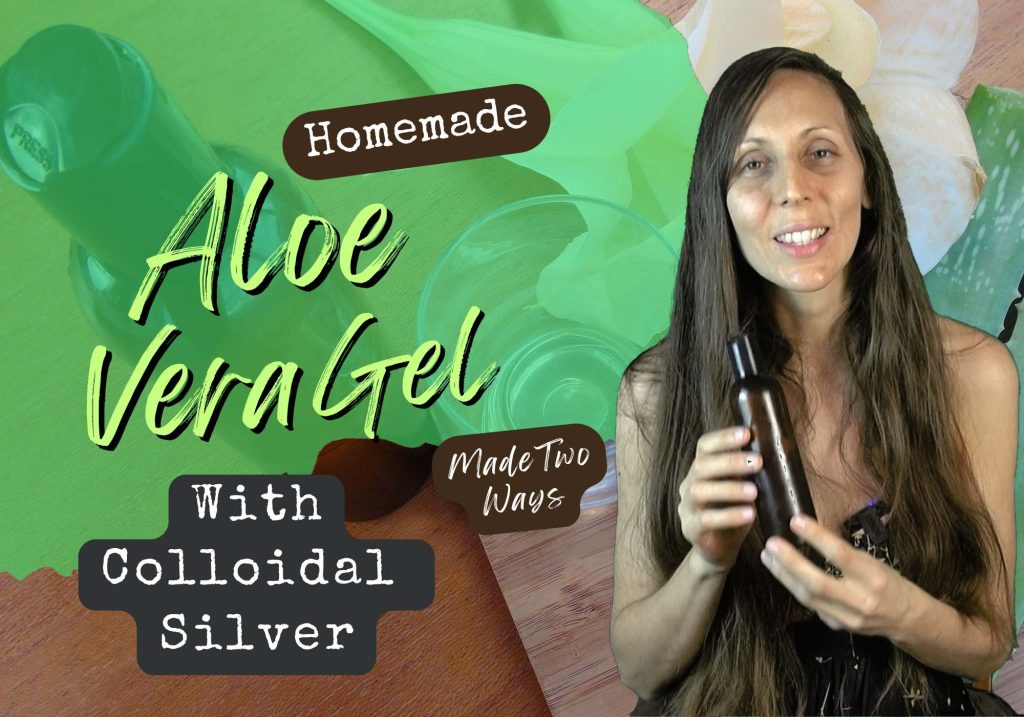
In this video, I will show you how I make my own aloe vera gel using colloidal silver as a preservative and for its skin benefits. It’s so easy to make, you’ll wonder why you never made it before!
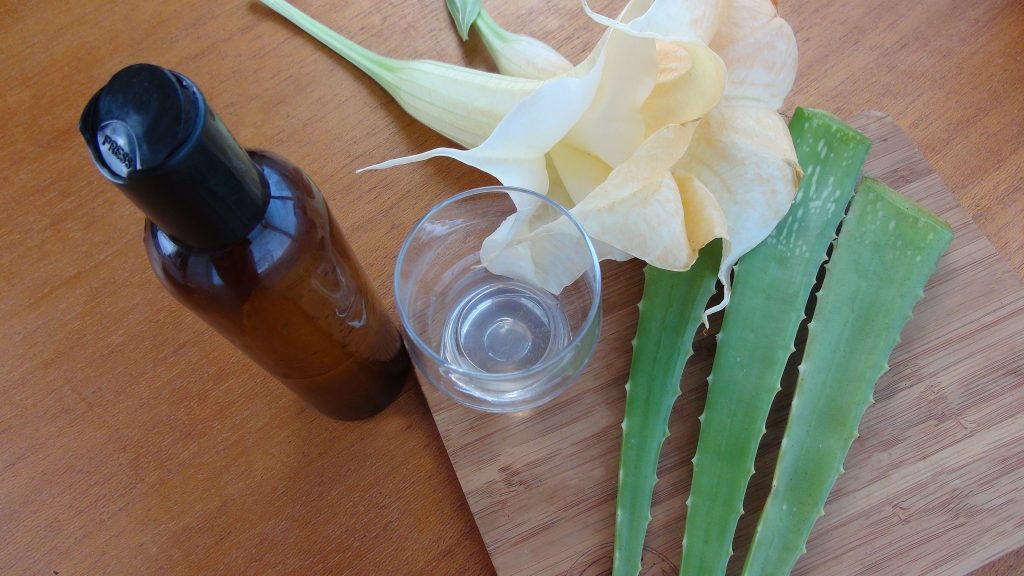
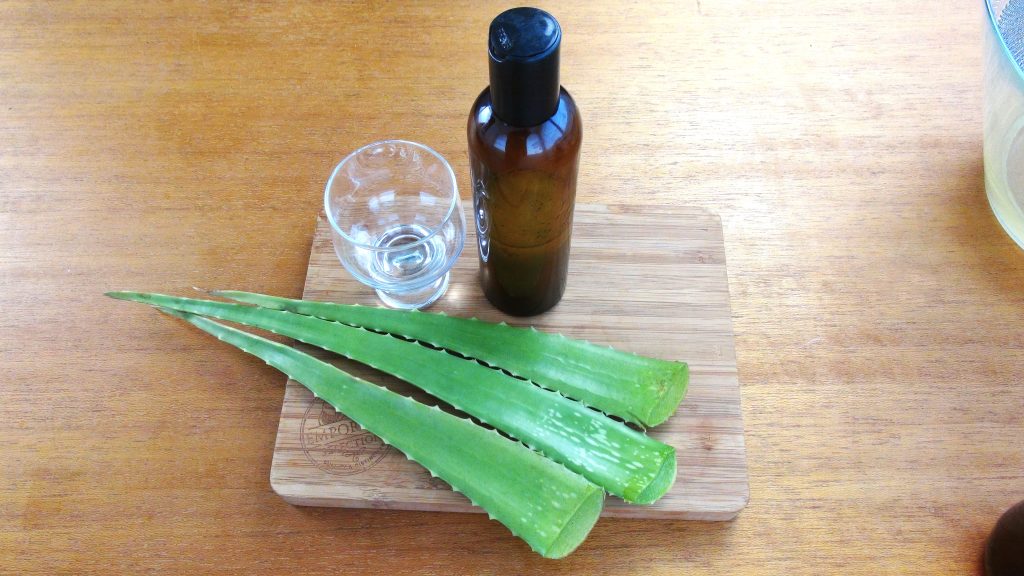
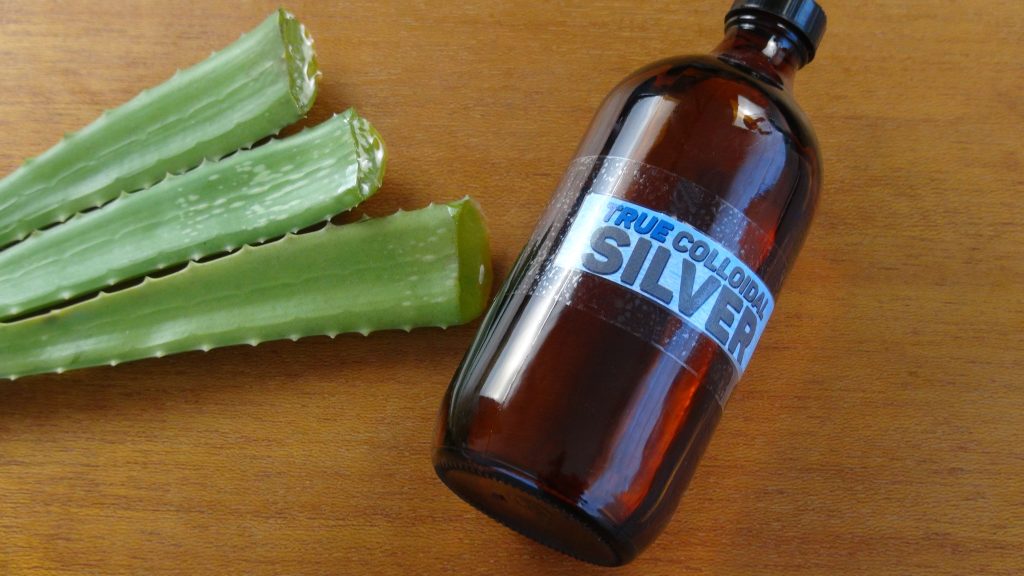
What You Will Need
Ingredients:
- Aloe vera leaves – 2-3 medium leaves will yield about 1/2 cup of gel, resulting in 1 cup of product overall.
- Enough colloidal silver to fulfill the 1:1 ratio of aloe gel to liquid. For 1/2 cup of gel, use 1/2 cup of colloidal silver. Ensure you have an amber-colored bottle for the colloidal silver to prevent oxidation or tarnishing from UV light. You can use either a store-bought version or make it yourself. If you want to know more about the benefits of colloidal silver and the generator I use to make my own at home, you can read the article or watch my video here.
- If you don’t have colloidal silver, you can replace it with distilled water. Uncontaminated water will help preserve your gel.
Equipment:
- Blender
- Amber-colored bottle
- Knife
- Peeler
- Chopping board
- Funnel
- Strainer
- Bowls
Method 1: The Easy Method
- Prepare the Aloe Vera: Cut the sides off the leaf and peel off the top layer. Scoop out the gel with a spoon or knife. It can get pretty slippery due to its slimy nature, so be prepared for that.
- Blend: Combine 1/2 cup of aloe gel and 1/2 cup of colloidal silver in a blender. Blend on low for about 30 seconds or until most of the lumps are removed. Keeping the speed low and not over-blending will ensure the enzymes remain intact. You can see it loves to foam up. This is the natural saponins found in the gel.
- Strain: Strain the mixture to remove any remaining green parts. The gel should be smoother with minimal lumps.
- Store: Place the gel in an amber-colored bottle and store it in the refrigerator.
Method 2: For Sensitive Skin
- Soak: Chop the aloe into small pieces and soak in water for 30 minutes to an hour (or overnight in the fridge) to remove the sap, which can cause irritation.
- Strain: Strain the water, which should have turned a light shade of green as some of the sap leaches into the water.
- Prepare the Gel: Scoop out the flesh with a spoon or knife. Follow the same blending and straining steps as in Method 1.
- Store: Store the gel in an amber-colored bottle in the refrigerator.
It’s as easy as that.
Hope you guys liked this recipe and that you try it for yourself. I would suggest that if you haven’t already, begin propagating your own aloe vera plant so you can use them for your skin and health needs.